Rain and Ripples
A short video proof of concept and breakdown setup for the ripple solver in Houdini.
The setup starts with a particle emitter that uses controllable noise on both the emission and on the falling points to simulate wind. The purpose of which is to break up repeated patterns and emulate the random patterns found in the reference footage. The result of this particle system is fed in two directions.
First, a polygon mesh is attached using a particle fluid surface node. An alternative method I tried created a VDB volume on each point and converted it to a polygon. But that method seemed a bit over engineered for this application.
The second branch for the particles feeds them into a DOP to be used as triggers for the ripple solver. With the help of an online tutorial, I was able to create a ramp to control and visualize the overall look and magnitude of the ripple effect before the simulation.
A final, post-simulation control is available to fine tune and art direct the cached simulation.
Galaxy Blast
Low resolution Nebula Blast effect with particles used to create a volume. Noise patterns with an external control node help define the shape. The setup in the video uses 60,000 particles for the simulation with a cluster of 50 particles added to the simulated particlesas a post process before a VDB volume is applied.
The planet is a separate dynamic simulation. A magnet force set to a negative value is used to repel pieces from their rest position at a specific frame. Interaction between the planet and nebula particles is scheduled for the next iteration of this effect.
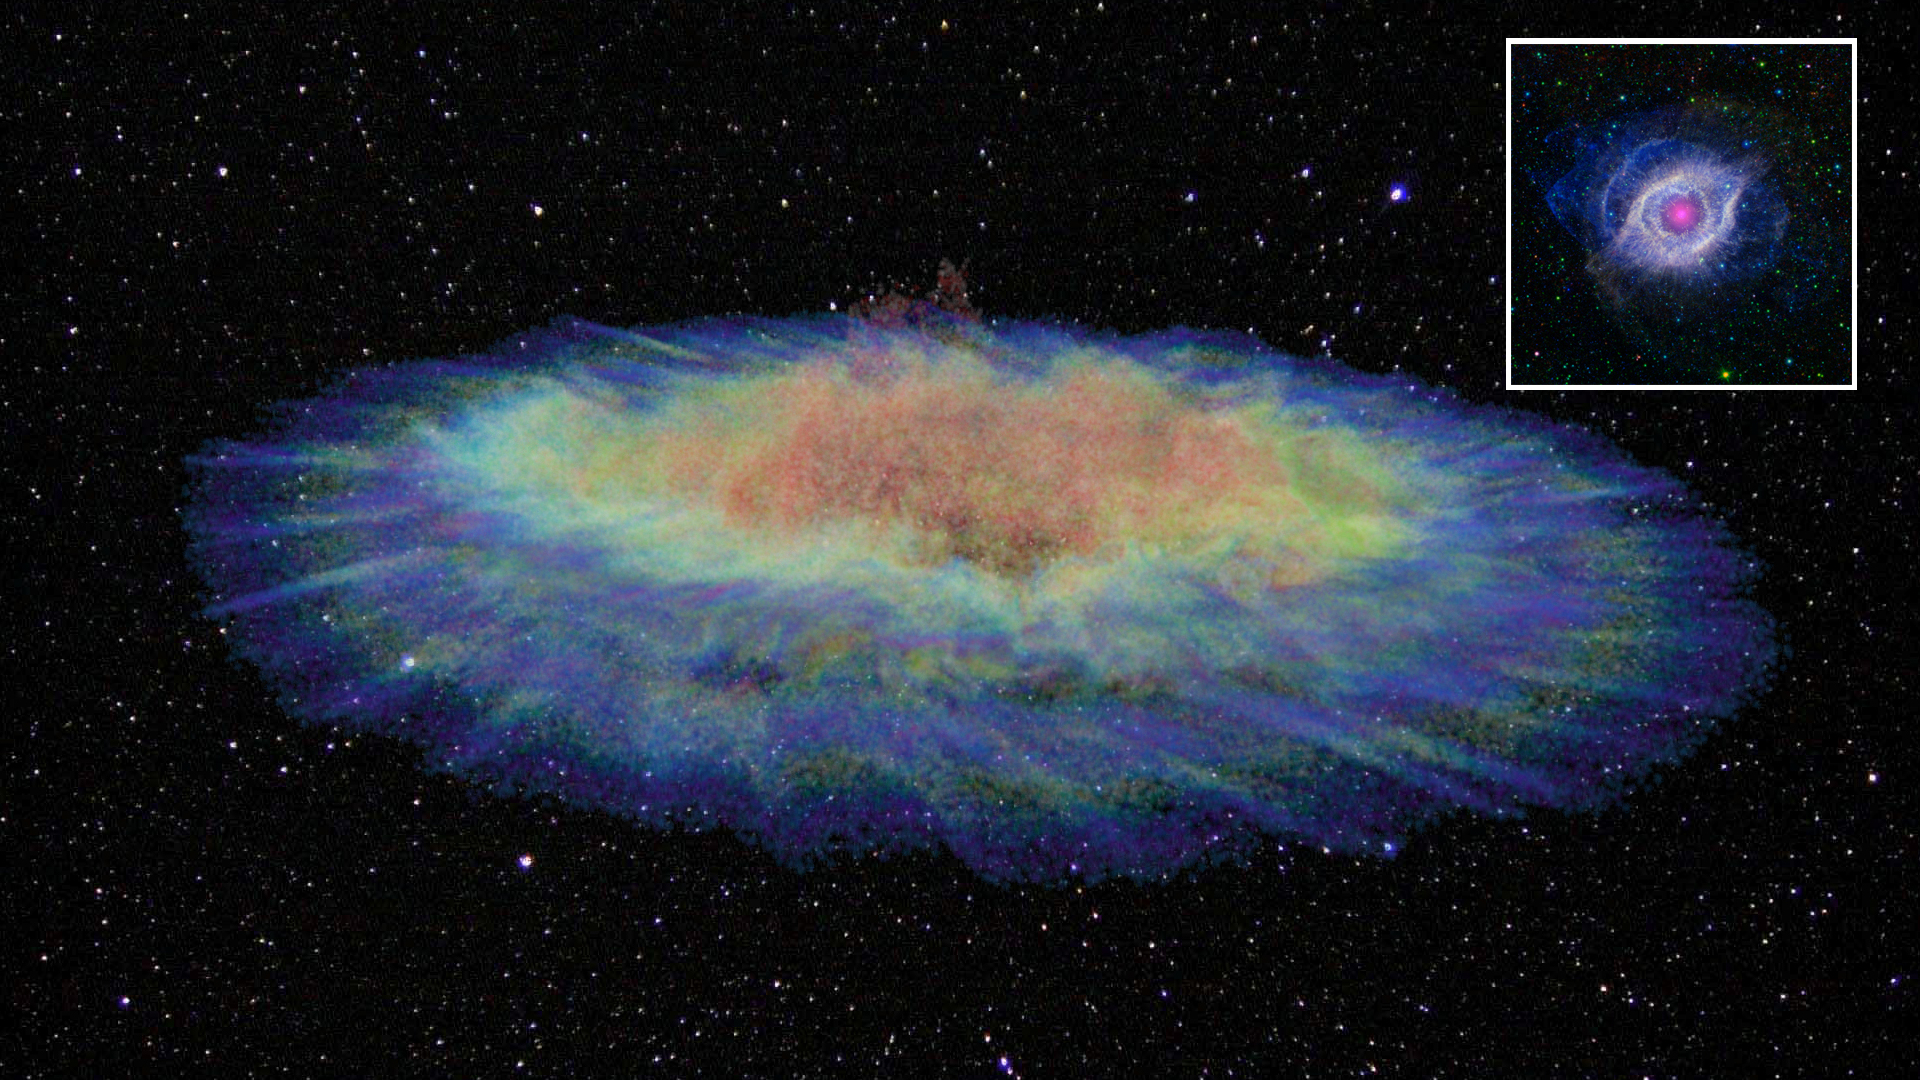
The single image below is a test with 3,000,000 particles and a VBD volume applied to the particles using the same galaxy blast rig as the video above.
A control allows color adjustments to resemble a different NASA image of the same Helix Nebula, with art directed deviation.